How to Install Dogwood® Flooring
Hardwood Flooring Installation Instructions
November 9, 2021 | By Jeremy Lakeman, Bruce Installation Expert
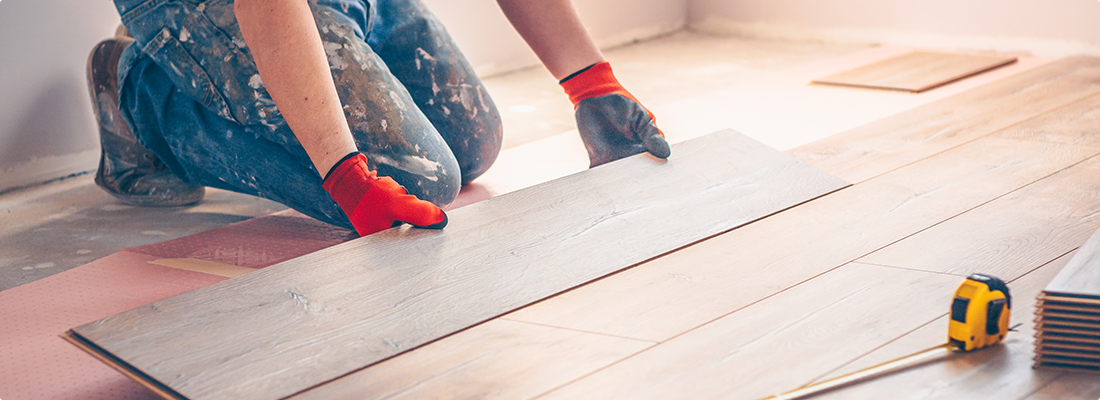
There’s nothing like hardwood flooring to add luster and beauty to your home. And with Bruce® Flooring, you get the benefit of easy-to-install, DIY wood flooring. So, you won’t have to wrestle with how to install hardwood flooring in your home.
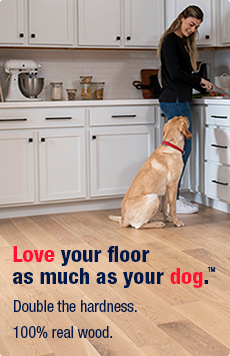
And now with Bruce Dogwood® Densified Wood™ flooring, you’ll get that same easy installation, but with an added benefit. As the name implies, Dogwood flooring offers one of the best options for hardwood flooring for dogs and other pets as well as active families.
Just think about it. You get the beauty of real hardwood without having to deal with dog scratches that can mar your floor’s look. But remember, although Dogwood is intended to be extra-durable, it is not indestructible. Medium to large, active dogs and pets with sharp or unkept nails may still cause damage. It’s even water resistant so you won’t have to worry about the occasional pet accident.
It’s a fact – Dogwood densified wood flooring is virtually dog proof. We make laying hardwood floors simple. And we make them to last.
Ready to get started on your hardwood installation?
What You’ll Need to Install Your Hardwood Flooring
Dogwood densified wood flooring gives you the ultimate in flexibility. Your installation options include gluing, floating, or mechanically fastening your hardwood. You decide which application best fits your needs.
Let’s start with the obvious – make sure you have the right tools on hand. Tools vary depending on how you want to lay your hardwood floors. But here’s an overview of what you’ll need.
Hardwood Flooring Installation Tools
Regardless of your hardwood installation method, ready yourself with these tools:
-
Broom
-
Tape Measure
-
Hammer
-
Chalk Line and Chalk
-
Hand Saw or Jam Saw
-
Electric Power Saw
-
Eye Protection
-
Wood Glue
-
Moisture Meter
-
Transition Wood Molding
-
NIOSH-Designated Dust Mask
You’ll also want to have some quality wood floor cleaner on hand. After all, once you have your new flooring in place, you’ll want to start paying attention to hardwood floor care to keep your floors looking new and extend their longevity.
Floating Hardwood Installation
Floating hardwood floors work best in room sizes 20’ x 30” without transitions. If you elect to float your flooring, keep these things in mind:
-
Hardwood floors move – they expand and contract with temperature and humidity changes. So, they’ll swell in summer and contract in the winter. A floating floor moves as a unit so be careful not to weigh the floor down to allow for that movement.
-
Floating your floor doesn’t make installation easier.
-
Thinner and narrower plank flooring doesn’t float as well as wider plank hardwood flooring.
Glue Hardwood Installation
If you’re installing the hardwood on a concrete subfloor, gluing the floor in place is likely your best option. Glue minimizes squeaks, plus adhesives can act as a moisture barrier. By the way, it’s best to moisture test the concrete slab before installation.
If you elect to glue your Dogwood densified floor, you’ll need these additional items:
-
Adhesive and Adhesive Remover
-
Trowel
-
3M Scotch-Blue™ Tape
-
Tongue and Groove Adhesive (for floors exceeding 3-1/4″ in width)
Mechanically Fastened/Stapled Hardwood Installation
Mechanically fastened, stapled or nailed floors deliver a stronger, tighter hold. Owing to a tighter hold, however, just be aware your hardwood flooring may be more prone to cracking, especially if placed in a high-moisture environment.
This hardwood installation method requires these additional items:
-
Power Floor Nailer
-
Staples or Fasteners (for 3/8″ to 1/2″ flooring use one-inch staples or fasteners, for 9/16″ flooring use 1-1/4″ fasteners)
-
20 Gauge Fasteners
-
Compressor and Hose
-
Nylon/Plastic Tapping Block
-
In-Line Regulator
-
Wood Glue for Floors Exceeding 3-1/4″ in width
-
Pull Bar
-
Tapping Block
Getting Ready for Your Hardwood Installation
Once you’ve determined your method for laying your hardwood floors, follow these steps for installation. These steps provide an overview of the installation process. For greater details refer to our complete hardwood installation instruction guide.
-
Acclimate Your Hardwood Floors
Measure the width and length of the room and multiply for square footage. When you purchase Dogwood densified wood flooring, allow an overage of 10-15% for irregular boards or your cutting mistakes.
After you’ve purchased your hardwood and brought it home, you need to give your new flooring a chance to acclimate itself to your room to adjust for room temperature and humidity.
Tip: Now’s a good time to lay the boards from several cases out on the floor and make adjustments to accommodate various shades and lengths. In short, arrange the flooring the way you intend to install to visualize lengths, wood grain, and board colors. For the best results, you should keep your lengths random and end joint at least six inches long.
It is recommended that you allow three to five days for the acclimation process.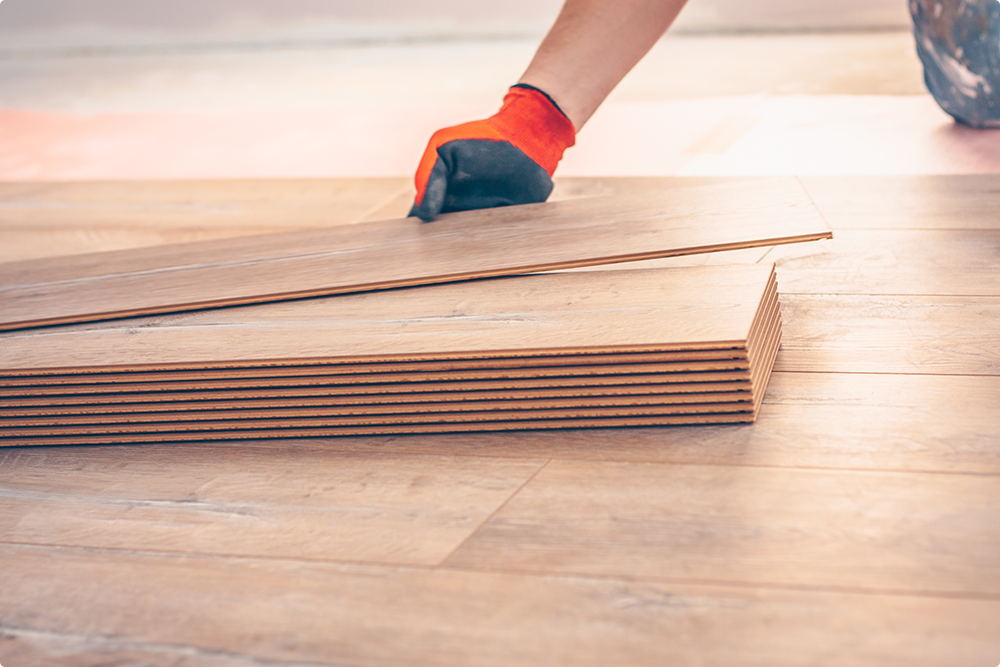
Prepare Your Subfloor
Remove old flooring and any residue. Then, clean the subfloor. If you’re planning to mechanically fasten your flooring, check for squeaks in the subfloor. If you find any squeaks, screw a long drywall screw into the subfloor and joist where it occurs.
Your subfloor must be clean, dry, flat, structurally sound and free of any surface bumps or left-over fasteners. You can sand down bumps or use a leveling compound for any dips in the subfloor.-
Start Your Hardwood Installation
First, select the longest unobstructed wall in the room. Next, snap a chalk line 3/8” from the baseboard to allow for expansion and contraction. Then, select a long, straight board for the first row of flooring. Align it with the chalk line and attach it to the subfloor with the groove facing away from the wall.
Make sure you lay your hardwood flooring perpendicular to the joists to establish a solid anchor for your flooring. You can mark the position of your joists on the wall where your base molding will hide the marks. Unless you’re installing a floating floor, secure the floor using glue or fasteners.
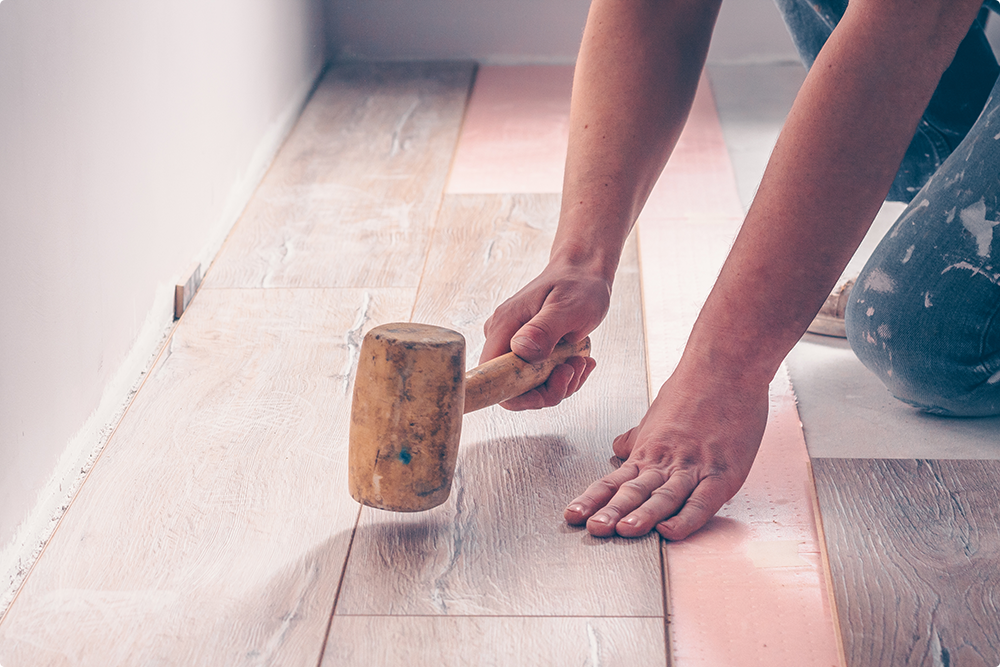
With your baseline established, you can tap the next board in place using a tapping block and mallet. Then secure that board. When you reach the end of the first row, cut the board to fit, again leaving a 3/8” expansion gap.
To start the second row, push the groove of the board into the tongue of the first row. Tap them together with a tapping block. Continue the process. Remember to stagger your joints by at least six inches to achieve a professional look.
Another Tip: Pay attention to how your tongue and groove pieces mix and match. When you cut the wall end of the wood, make sure you don’t cut off the groove that fits into the tongue. Otherwise, you’ll create a gap in the wood flooring.
Continue the process with these critical items in mind – always stagger the joints, maintain your expansion gaps, and mix your boards from and minimum of three to four boxes different boxes.
If you’re left with a narrow gap for the last board, you’ll have to take a measurement and “rip” the board to fit it in place. Your best bet for ripping hardwood flooring is to use a power saw that has a fence like a job saw or table saw. For crosscuts, make sure your power saw has a carbide-tipped, 40-tooth blade. You can also use a power miter with the same blade type.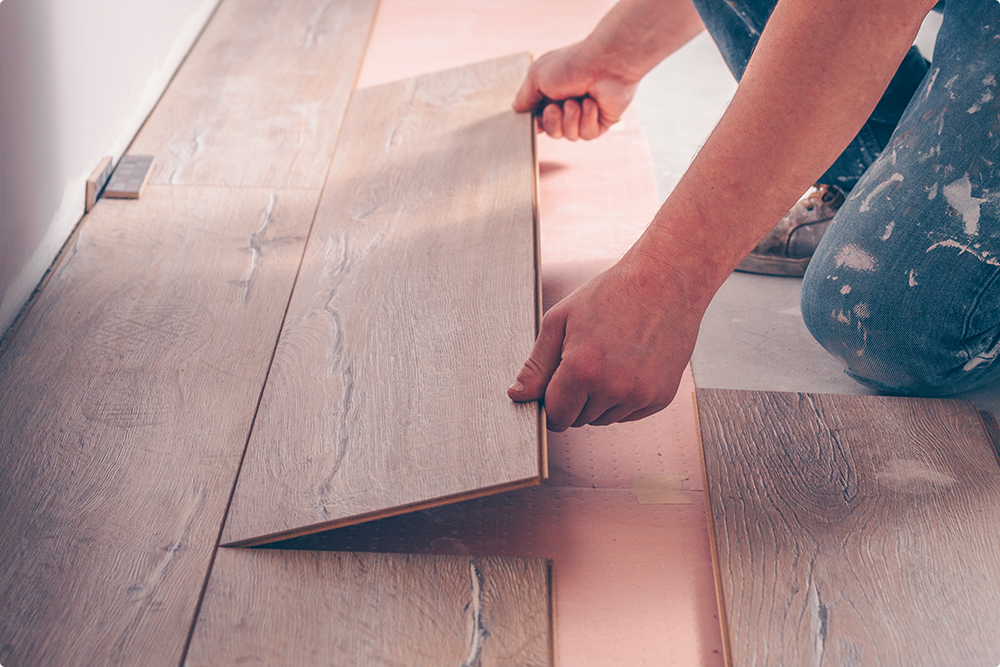
Cut Your Baseboard
You can avoid waste by selecting a piece that fits and leaving up to 12 inches more. Then cut it off. The remaining piece begins the next row. Add any thresholds to complete your project.
-
Hardwood Floor Care
When you’ve completed the hardwood installation, sweep and vacuum your floor to remove any debris.
Find Your Hardwood Floor Cleaner
Moving forward, it’s important to clean your hardwood flooring regularly. Here are some tips for keeping your floors in tip-top shape:
1. Place small carpets at entrances to catch moisture and grit
2. Put felt pads on the bottom of furniture
3. Sweep your floors regularly
4. Clean high-traffic areas weekly
5. Never use harsh chemicals or abrasive materials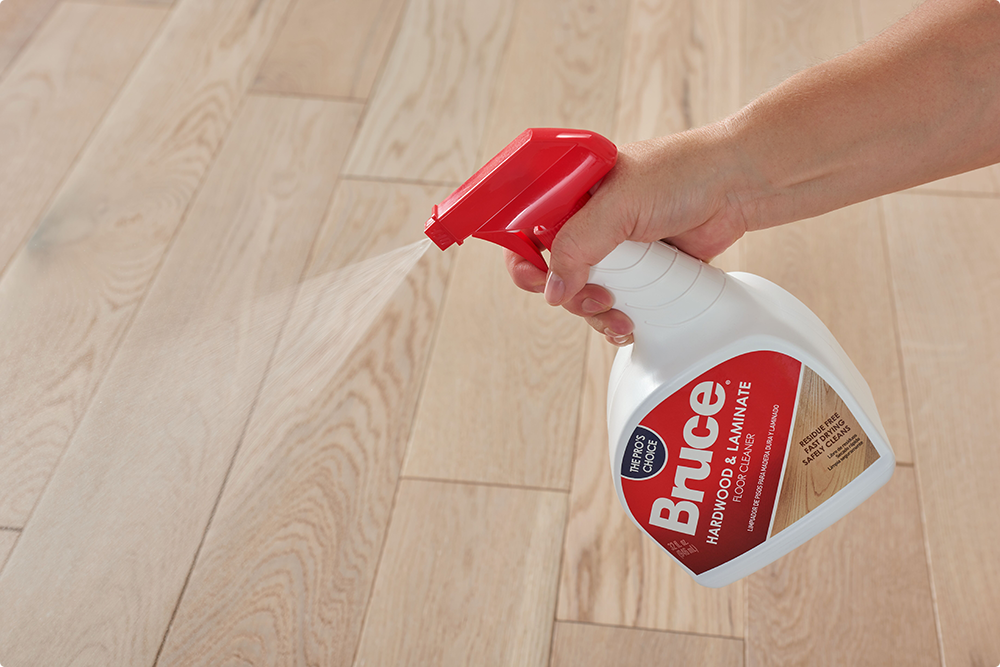
Select Bruce Dogwood Densified Wood for Your DIY Hardwood Flooring Project
We make the process of how to install hardwood flooring easy. Our hardwood flooring is designed with the DIYer in mind.
With our Densified Wood flooring technology, you won’t have to worry about dog nail scratches on your hardwood flooring. We designed this line to be the best hardwood flooring for your pets. So, you can sit back and enjoy your real wood flooring for years. And you can have your best friend by your side.
Inspiration to Your Inbox
Sign up for news about our latest flooring innovations—and get inspired for your next project.
Sign Up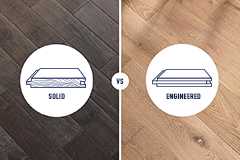 Solid vs Engineered Hardwood Flooring
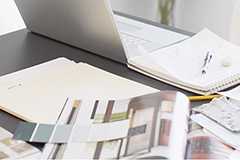 Guide To Choosing a Hardwood Floor
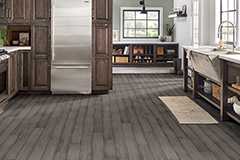 Hardwood Flooring Room Inspiration Guide
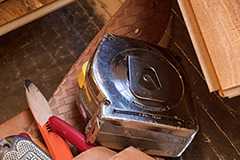 10 Things to Know About Hardwood Floor Installation
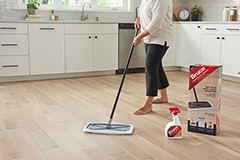 How To Clean and Protect Hardwood Flooring