How to Finish Hardwood Floors Like a Pro
By Bruce Flooring Expert, August 21, 2025
If you’re after custom beauty and long-term value, unfinished hardwood flooring is tough to beat. It gives you total control over the final look. You can create a floor that fits your exact style, not just something off the shelf.
We’ll walk you through why unfinished flooring is a wise choice. Even better, we’ll provide you with valuable insights and expert tips on how to install hardwood floors like a pro.
Why Choose Unfinished Hardwood?
Most hardwood sold today comes prefinished — sanded, stained, and sealed at the factory. It’s fast, clean, and ready to go right out of the box. But for more control over the final look and feel of your floor, unfinished hardwood is the smarter pick. Unfinished hardwood is the choice of pros and purists who value craftsmanship, customization, and long-term performance.
Finished floors are convenient — no question. But unfinished hardwood offers significant upsides:
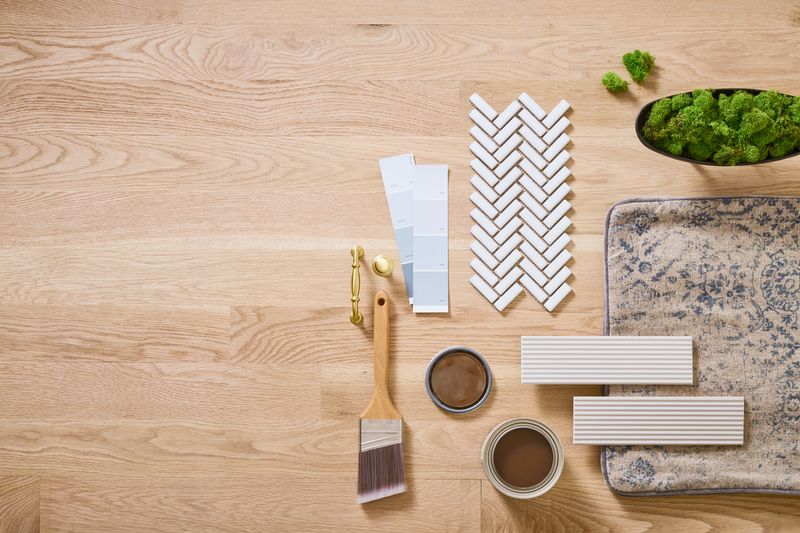
- Custom Stain and Finish: Match existing flooring, furniture, or cabinetry with a stain that’s 100% your call.
- Seamless Look: Sanding after installation creates a smooth, level surface with no micro-bevels between planks.
- On-Site Finishing: Gives better control over sheen, texture, and protective coatings.
- Stronger Seal: Since the finish applies after installation, it seeps into joints and helps seal the gaps.
Bruce® recently launched unfinished hardwood flooring, making it easy to purchase engineered or solid hardwood flooring. The new lineup is available in red and white oak, as well as hickory, in both narrow and wide planks.
How to Finish Hardwood Floors (Step-by-Step)
In a nutshell, the basic process is the same: sand, stain (optional), and seal. It’s a hands-on job, but with the right tools and a little patience, it’s completely doable — even for a first-timer. Taking it one step at a time ensures your floors turn out smooth, protected, and exactly the color and sheen you’re after.
Here’s how to do it right:
Step 1: Prep the Space
- Remove furniture, baseboards, and cover vents.
- Make sure the floor is clean and dry.
- Ensure temperature and humidity levels are stable.
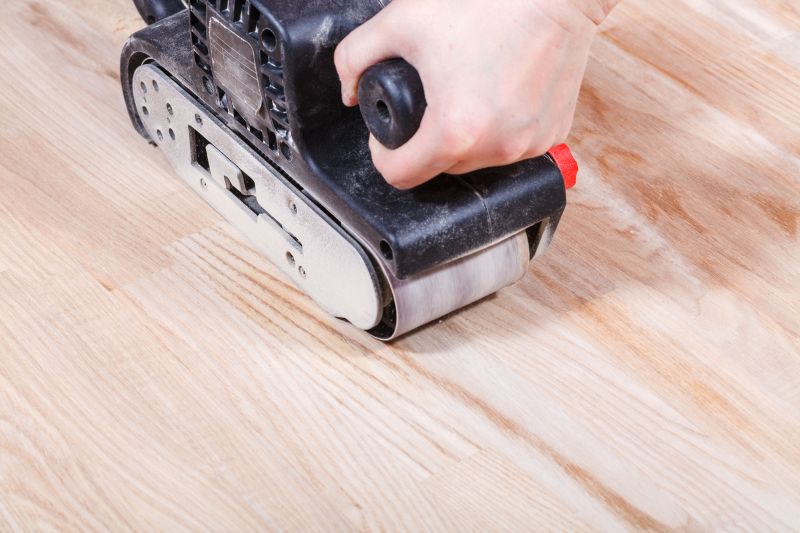
Step 2: Sand the Floor
- Use a drum sander for the central area, and an edge sander for corners and edges.
- Start with coarse grit (36–40), then proceed to medium (60), and finish with fine grit (100–120).
- Vacuum thoroughly and use a tack cloth to remove dust from the floor.
Step 3: Stain (Optional)
- Apply wood conditioner first if you’re working with softwoods or want even absorption.
- Apply your chosen stain with a rag or applicator pad, working in sections.
- Wipe off excess and let dry completely — usually 24 hours.
Step 4: Apply Finish
Choose your finish (more on that below), then:
- Apply with a lambswool applicator, brush, or T-bar.
- Follow the grain and avoid puddles or streaks.
- Let dry thoroughly between coats (typically 2–3 coats total).
- Buff lightly between coats for optimal adhesion.
5 Best Finishes for Hardwood Floors
The finish you choose locks in the look and protects it for years to come. Some finishes highlight the natural grain, while others add color or a subtle sheen. More importantly, different finishes offer varying levels of durability, ease of maintenance, and drying time.
Choosing the right finish depends on your lifestyle, aesthetic, and maintenance expectations. Are you looking for a soft, matte finish or a high-gloss shine? Do you need something challenging enough for kids and pets, or something easy to touch up over time?
Here’s a quick look at the five best finishes for unfinished wood flooring.
| Finish Type | VOC Level | Drying Time | Maintenance | DIY-Friendly | Notes |
| Aluminum Oxide | Low | N/A | Very Low | No | Factory-applied; not suitable for on-site finishing. |
| Acid-Cured (Swedish) | Very High | Fast | Low | No | Professional application only; strong fumes; high cost. |
| Water-Based Polyurethane | Low | 2–4 hrs | Moderate | Yes | Clear finish; eco-friendly; may require more coats. |
| Oil-Based Polyurethane | High | 8–10 hrs | Moderate | Yes | Amber hue, durable, and longer drying time. |
| Moisture-Cured Urethane | Very High | Variable | Low | No | Extremely durable; high VOCs; recommended for professional use. |
| Hardwax Oil | Low | 4–8 hrs | High | Yes | Natural look, easy spot repairs, and requires regular maintenance. |
5 Pro Tips for Better Results
Finishing hardwood floors isn’t overly complex, but the details matter. A small mistake — like rushing a coat or using the wrong applicator — can lead to streaks, bubbles, or uneven color. These pro tips will help you avoid common pitfalls and get smooth, professional-looking results:
- Always test stains and finishes on a scrap or hidden area first.
- Keep windows open and ventilate the space well.
- Use high-quality applicators — cheap ones leave streaks and lint.
- Don’t rush drying times between coats — patience pays off.
- Consider hiring a pro if your floors have significant damage or you’re short on time.
- Follow all manufacturer instructions, including those provided by finish manufacturers.
Look to Bruce® for Quality Hardwood Flooring
Finishing your hardwood floors gives you total creative control. And with Bruce’s new unfinished hardwood flooring, you get a premium foundation to build on. Best of all, you can find it at a retailer near you. Remember, America was built on Bruce hardwood floors!