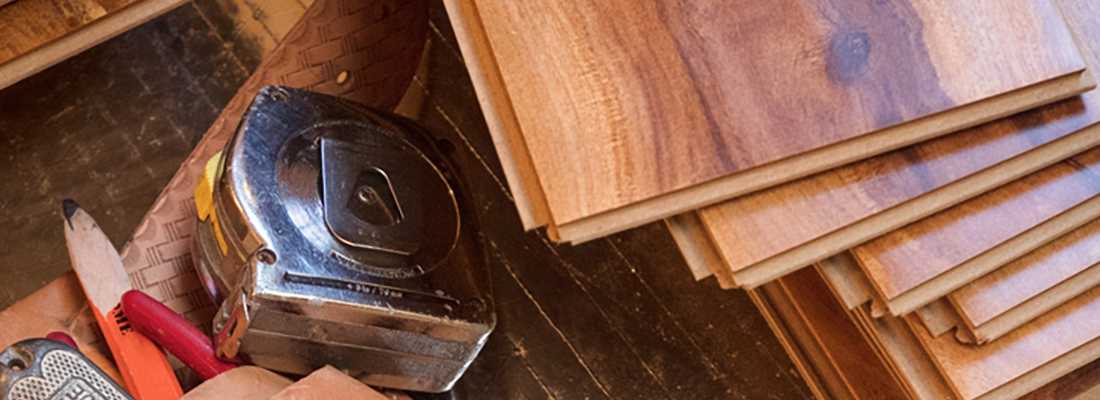
10 Things to Know About Hardwood Installation
Preparation is the key to a smooth installation. These tips will help.
Wherever you are in the wood flooring buying journey, hardwood installation should play an important role in your decision-making. Who’s going to install it? How and where will it be installed? These types of things can affect your budget and timeline, so consider them from the beginning to ensure the best possible results.
Inspiration to Your Inbox
Sign up for news about our latest flooring innovations—and get inspired for your next project.
Sign Up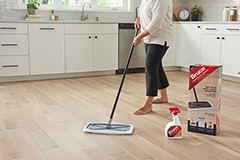 How To Clean and Protect Hardwood Flooring
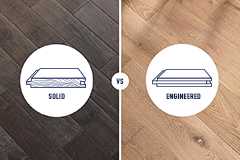 Solid vs Engineered Hardwood Flooring
 Guide To Choosing a Hardwood Floor
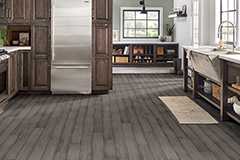 Hardwood Flooring Room Inspiration Guide